Appwrite
Save the endpoint, project ID and a server API key; the assistant creates tables and buckets and registers the app with Appwrite.
Updated Oct 12, 2026
Steps
- No Appwrite account yet? Sign up at Appwrite Cloud, create an organization if it asks, then Create project, named after the app, in the region nearest your users.
- In the Appwrite Console, open Overview › Integrations and copy the API endpoint and Project ID.
- Under API keys, create a key with an expiry, such as a year.
- Grant read and write on Databases, Tables, Columns, Indexes, Rows, Buckets, Files, Users, Teams and Platforms, and read on Project.
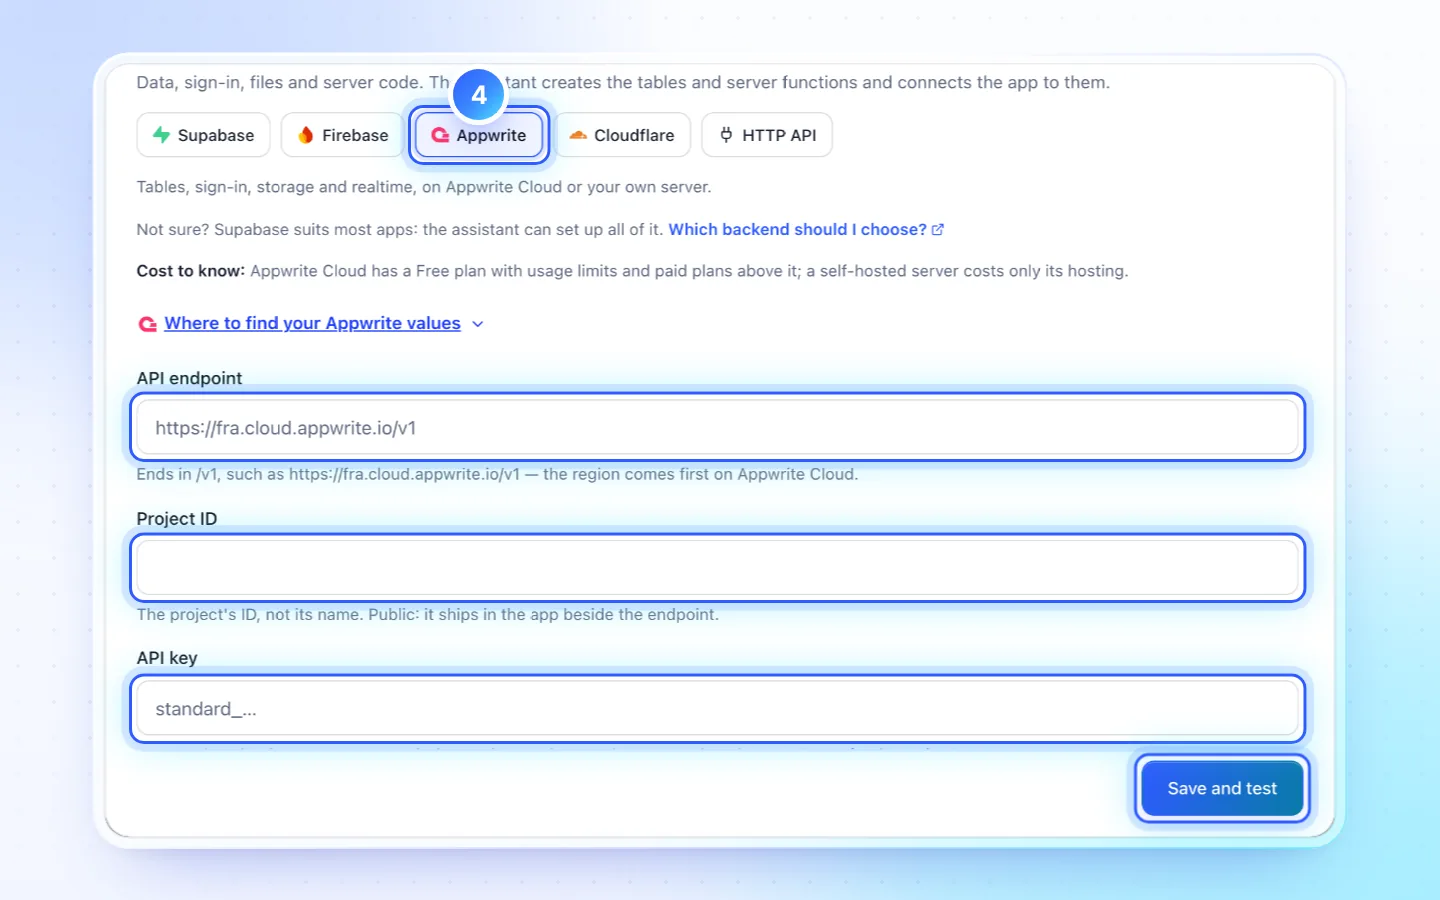
- Click Server › Backend › Appwrite, paste the three values and save. The key starts with
standard_.
Good to know
- Works with Appwrite Cloud and with a self-hosted server reachable from the internet.
- When the key expires, the assistant's backend work stops until you save a new one, so note the date. A key that never expires works for anyone who copies it.
- With the Platforms scope, the preview host, Android package and iOS bundle ID are registered for you, again before every build. Without it, add them under Overview › Platforms.
- The assistant writes the public endpoint and project ID into
.env, and creates tables and buckets where each user reads only their own rows.
Related
Did this page help?